
The Alpha is a Mid-Infrared (MIR) scanner. Scans made by the Alpha are used by SoilCares to
measure the macro-nutrients in the soil and to determine other soil characteristics such as soil
acidity and texture.
1. Start the Alpha by plugging it to power and let it warm up for at least 60 minutes. Note: Do NOT shut the ALPHA down unless you are not going to use it for a long time. To shut down: Unplug it from power
1. Connect Alpha and scanning laptop with the provided ethernet cable. The Alpha scanning laptop should be connected to internet and the uploader on the laptop needs to be running before you can start scanning soil samples with the Alpha. Start the uploader by double clicking the uploader icon. Keep the uploader running always (working online) and ensure the right directory paths for the file storage folders are in place.
2. To start the Alpha, just plug it and let it warm up for at least 60 minutes. Note: Do NOT shut the ALPHA down unless you are not going to use it for a long time. To shut down: Unplug it from power.
3. Start the Soil Wizard application, type in your operator name and password and log in. When the “about OPUS” window pops up press OK.
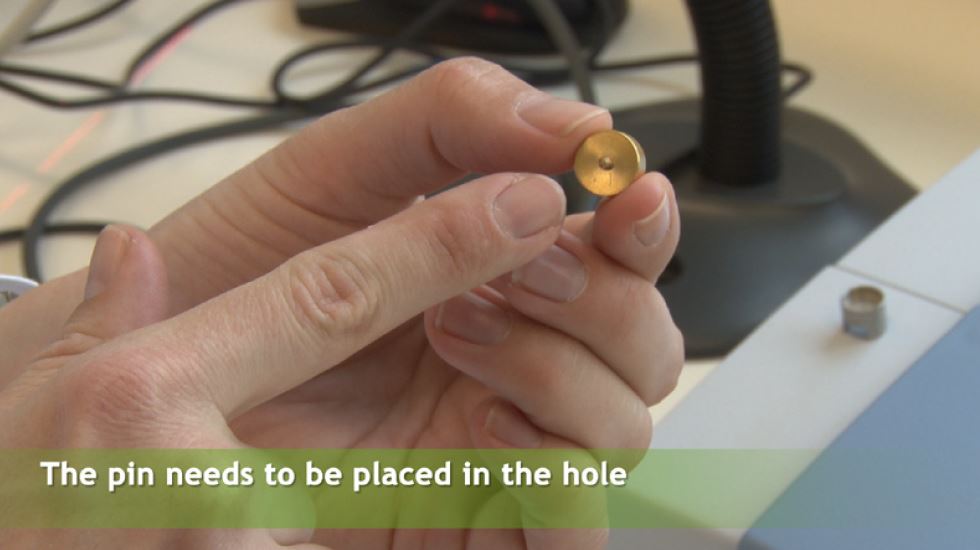
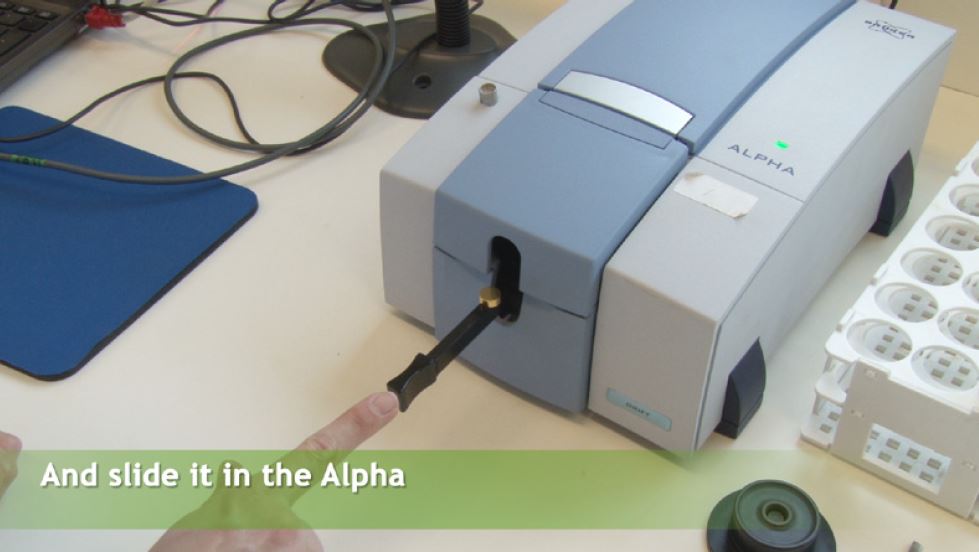
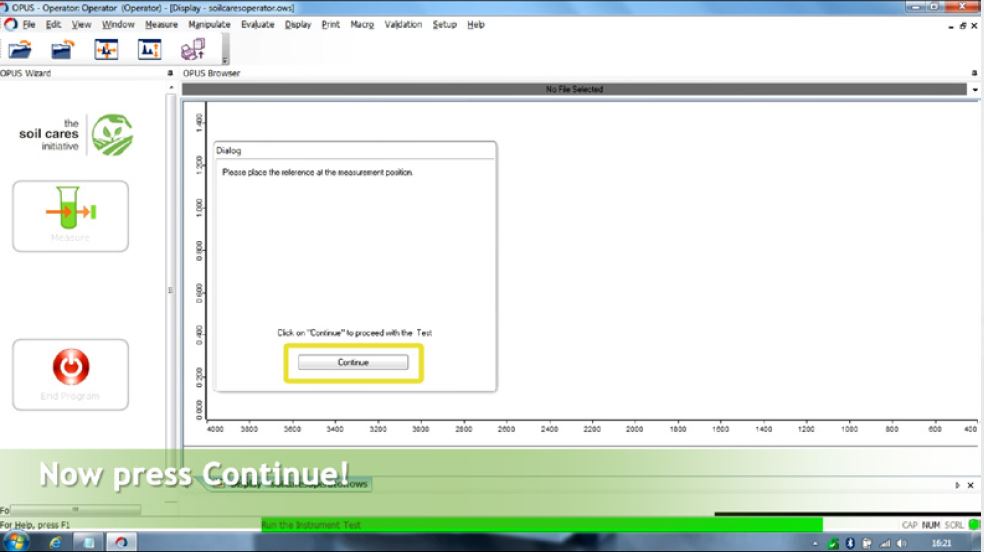
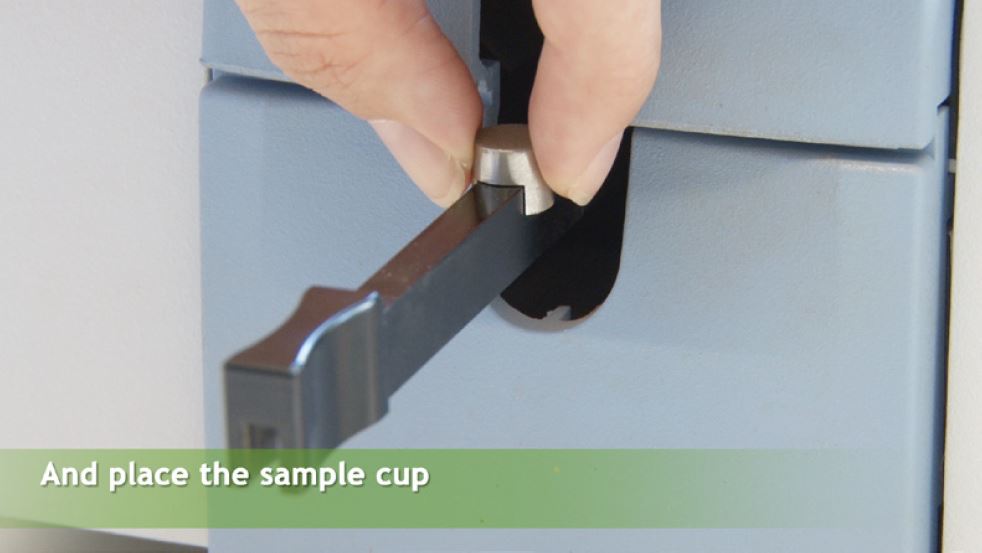
4. We start with doing an instrument test: Place the Golden cup in measurement position (the pin needs to be placed in the hole), slide it in the Alpha and press Continue.
Note: Soil Wizard will advise you to proceed to other instrument tests when necessary and give you the
procedure to follow.
5. Begin each day by doing a standard sample measurement. Each measurement starts by doing a background scan with the golden cup. Place the golden cup in the Alpha, press “Measure”, place the cursor in the textbox, scan the Standard sample barcode and proceed to a background scan. When the background scan is done remove the golden cup and place the Standard sample and click “Measure”. The standard sample needs to be scanned once every morning.
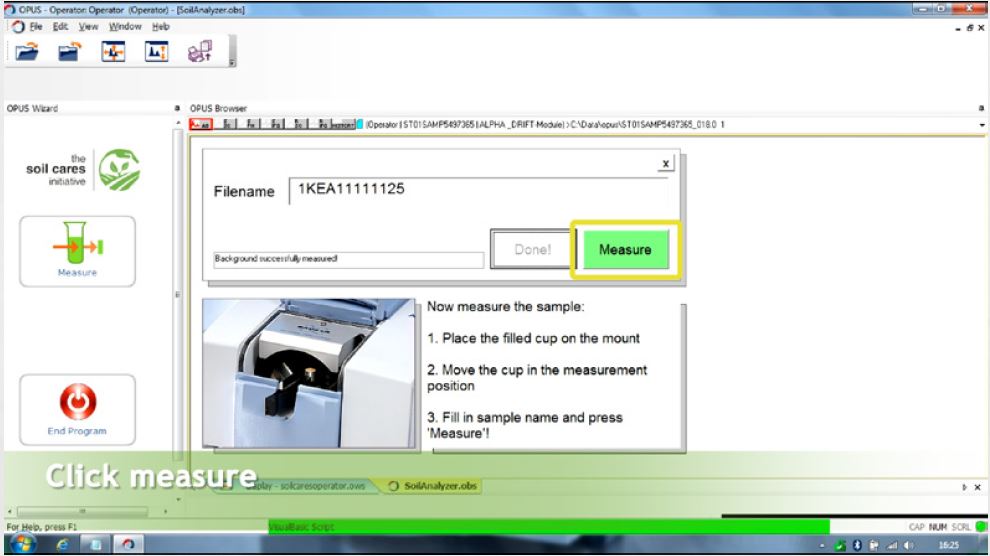
6. To analyse a new sample: place the cursor in the textbox and scan the sample barcode. Place the golden cup for a background scan and click “background”.
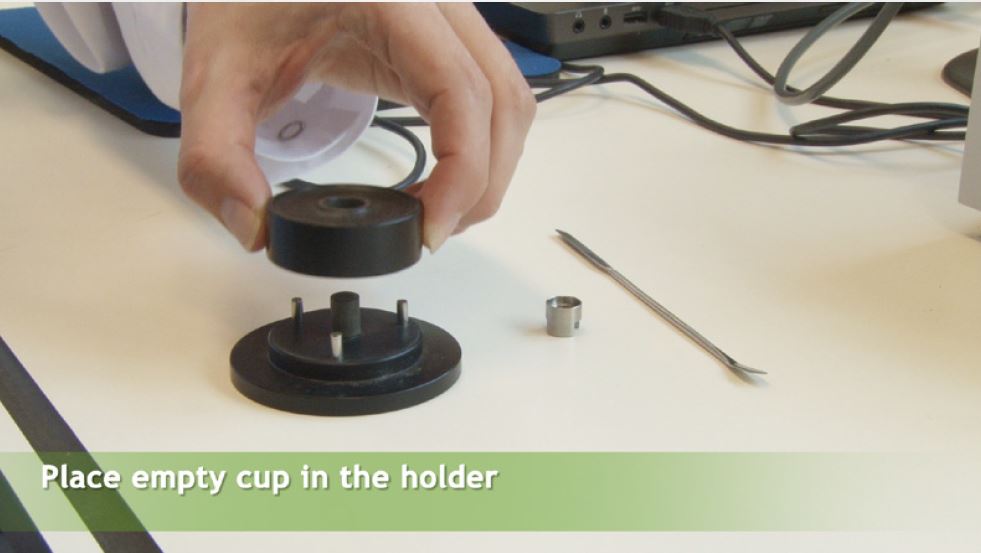
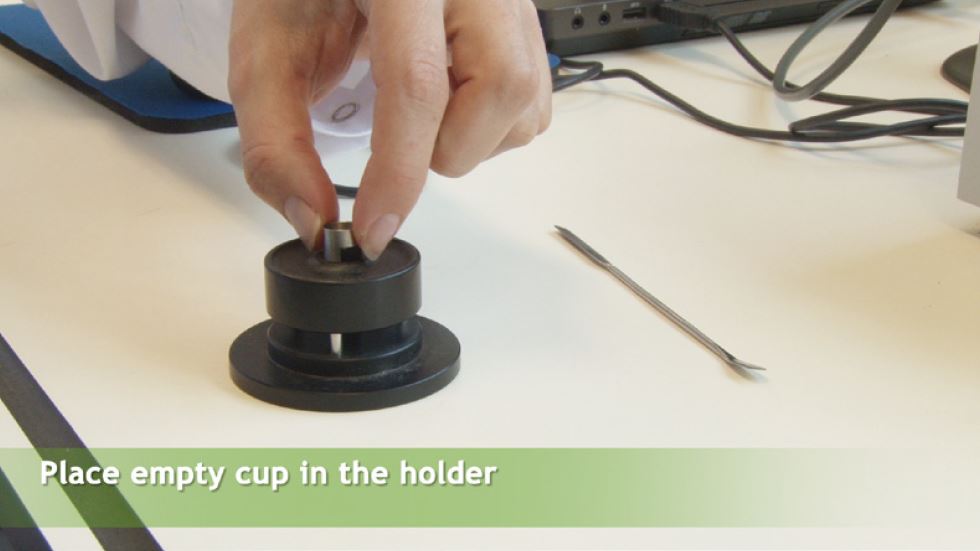
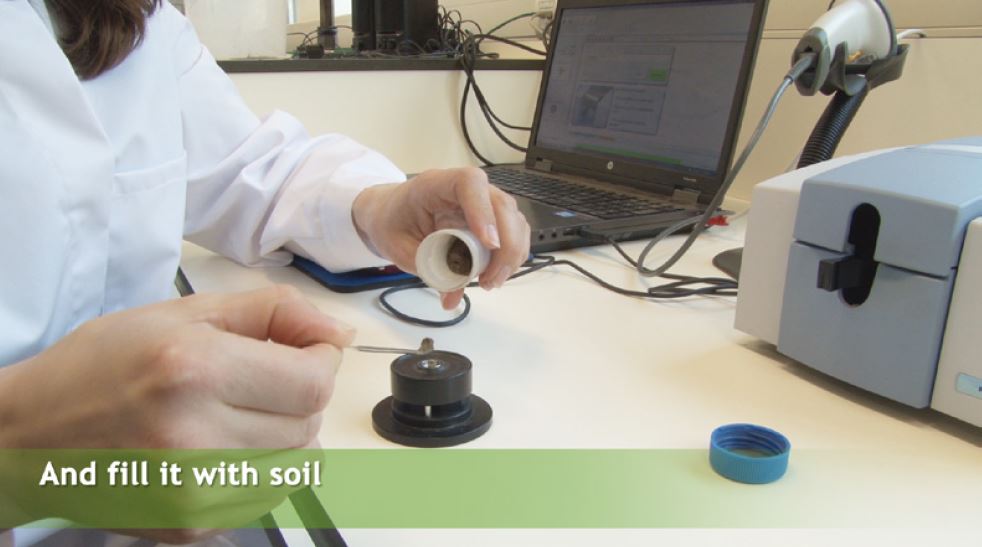
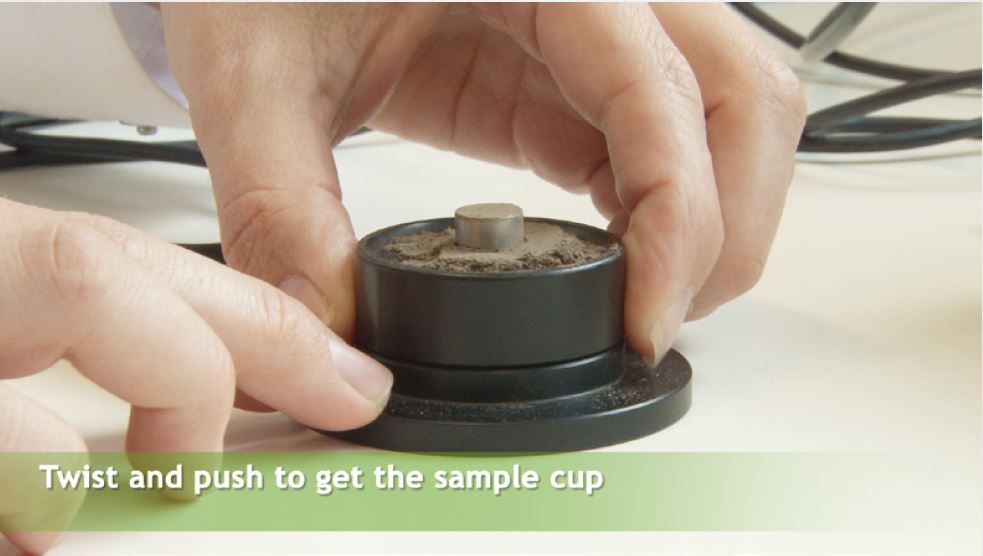
7. In the meantime, prepare the soil sample: Place an empty cup in the holder, fill it with soil and smoothen the surface. When the background scan is ready, take the golden cup out, remove the sample cup from the holder by twisting and pushing it, place it in the Alpha and click “measure”. When the measuring is done, remove the sample cup, empty the cup and the cup holder and clean your material (Cleaning must be done between each scan).

8. Each sample must be scanned twice. The results of both scans will be compared and averaged by the SoilCares system. Scan the barcode again, proceed to another background scan with the golden cup and prepare a new sample cup with the same sample in the meantime. When the background scan is finished place the sample cup in the alpha and press “measure”. When the second scan is finished
remove the soil sample and empty and clean all materials again.
9. The SoilCares uploader will automatically send the scans to the SoilCares system. If there is no internet connection available then the uploader will keep the scans and send them when the connection is restored.
10. Check the Portal - Analysis tracking frequently. The Portal will inform you if a sample has an error and needs an extra scan. Portal - Analysis tracking
*Cleaning: Clean all parts with the static dusters.
If you have any further questions, please reach out to our support team via support@agrocares.com.
Thank you!
Comments
0 comments
Please sign in to leave a comment.